


Custom Illuminated 3D Acrylic Channel Letters - Fully Lit LED Wall Signage for Reception and Exhibition
- Free worldwide shipping
- In stock, ready to ship
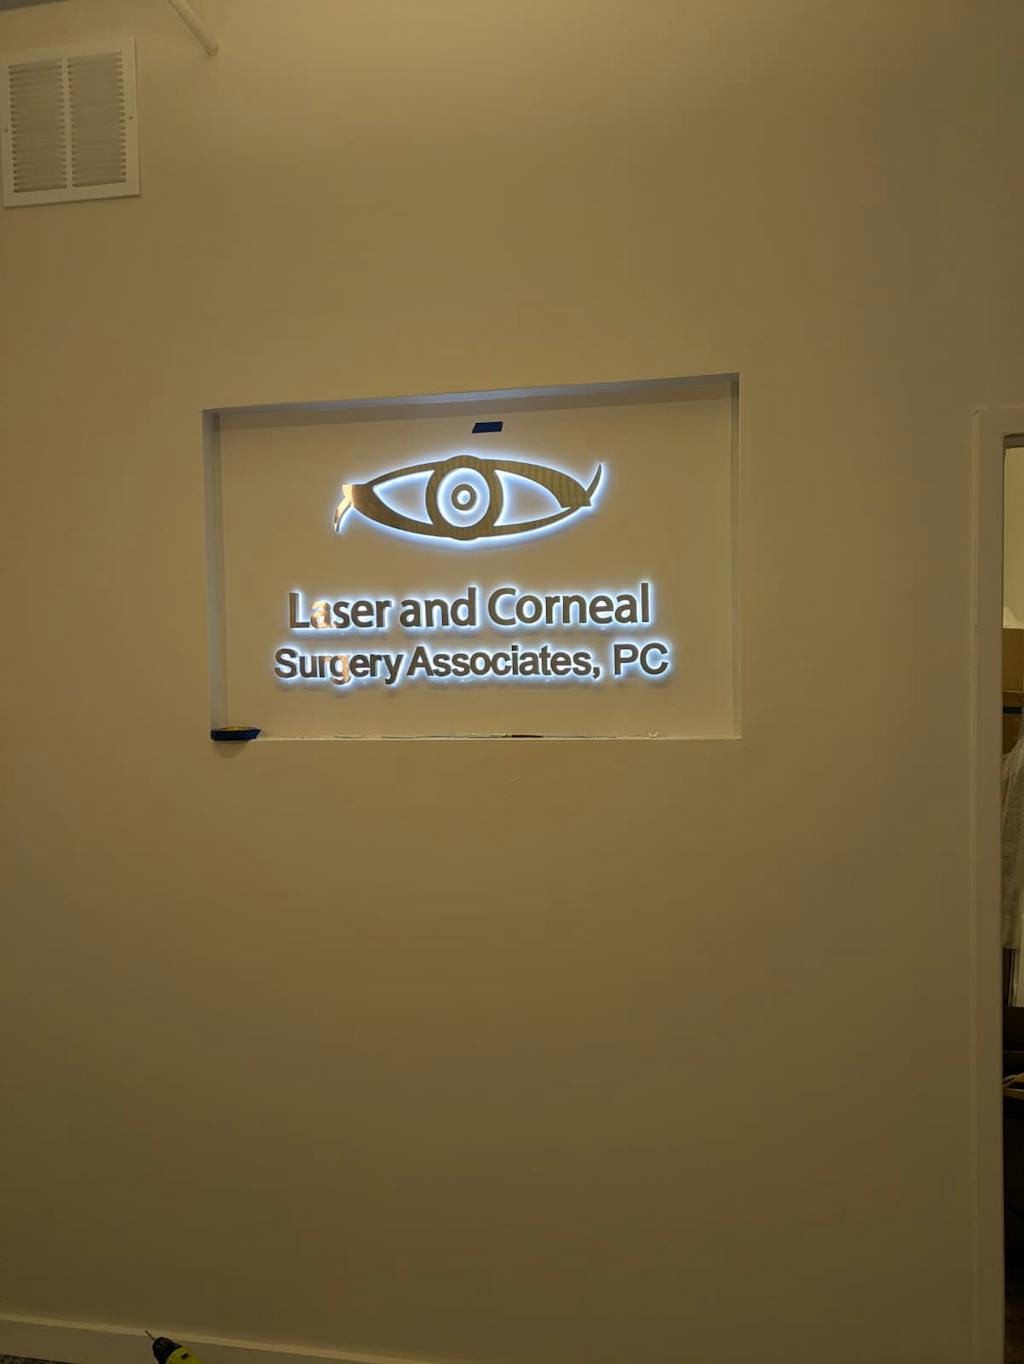
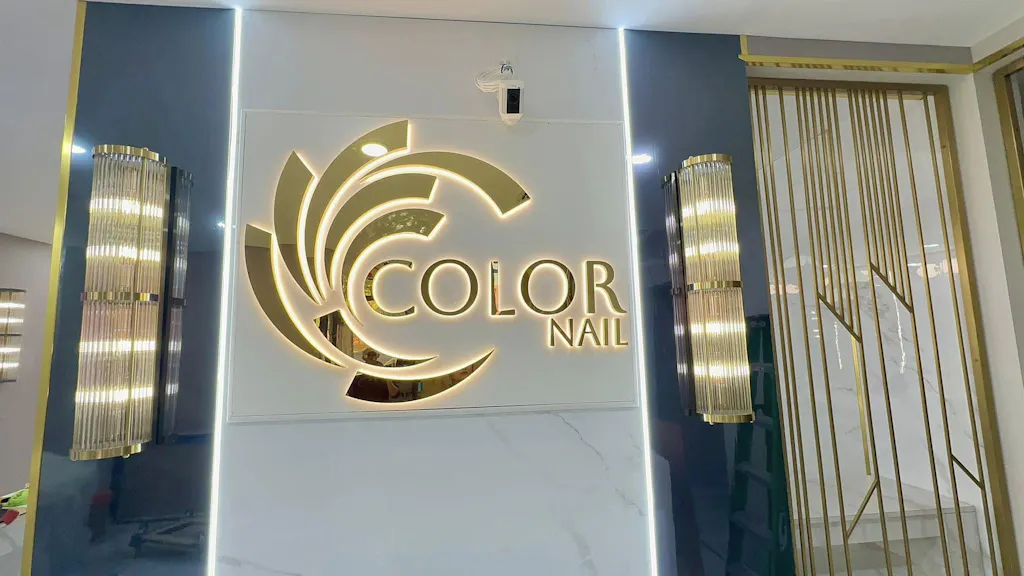
Make a bold statement with our fully lit custom 3D acrylic channel letter sign — designed to elevate your brand presence and attract attention. Crafted from high-quality acrylic and illuminated with powerful LED lighting, each acrylic letter offers brilliant, even illumination that turns your logo or message into a vibrant, eye-catching display. Ideal for storefronts, receptions, any business.
😊Versatile for any Business
Perfect for shops, salons, storefronts, mall, clubs, restaurants, exhibitions, offices, and more — our 3D acrylic fully lit letter signs add a stylish and professional touch to both indoor and outdoor spaces. These acrylic channel letter signs help you stand out in any environment.
💌Personalized Customization
You can order a sign with your business logo or any custom message. After you place an order, we will create a mock-up and send it to you for approval. Any questions, pls contact us at hello@luckyneon.com.
Get your instant quote and mockup.
Product Specification:
Product Type: Fully Lit 3D Acrylic Letter Sign
Materials: Acrylic material and LED lighting
Installation: Multiple mounting options available — wall-mounted or ceiling hanging.
3D Metal Backlit Sign Installation (Logo only)
Step 1: Drill holes and thread the wires


- Stick the 1:1 template to the wall where the installation will take place.
- Drill holes at the corresponding positions on the 1:1 template.
- Insert the studs into the acrylic backing of the backlit letters and apply glue on the acrylic backing.
- Finally, install the backlit sign into the corresponding holes on the wall.


- Thread the wires of each backlit letter through the wire holes.
Step 2: Connect the power supply

Method 1: Connect all the wires of the backlit letters in parallel (as shown in the wiring diagram). Then, hide the wires in a wire raceway or wrap them with electrical tape. Connect the wires to the power supply, and finally plug it into the outlet or hardwire the connection.

Method 2: If you want the wall to be smoother, you can install an access panel for the power supply during the wall construction. All the 12V wires will be routed inside the wall and reach this in-wall box.
3D Metal Backlit Sign Installation (With Backing Board)


The backing board design conceals the wires behind the board, with only 1 to 4 wires exposed.
Method 1: You can choose to connect the wires to the power supply behind the wall by drilling a hole, then plug it into the outlet or hardwire the connection.

Method 2: If you don't want to thread wires through the wall, you can wrap the wires with electrical tape or wire raceway, connect them to the power supply on the front of the wall, and finally plug it into an outlet or hardwire it.
NOTE: Installing a 3D metal backlit sign requires knowledge of wire connections. It is recommended to have a electrician handle the installation.
👉🏼 3D Metal Backlit Sign Wiring Diagram
Customer Reviews
The sign is well made and exactly what I asked for. One piece was missing, and when I contacted customer service, they sent the piece out right away. I would definitely use them again in the future.
Lucky Neon was very easy to work with and got us a mock up very quickly! They were awesome at making the adjustments I requested and had an invoice to us right away after I approved the mock up. Pricing seemed very reasonable and shipping was very fast! We just got our sign hung up and it looks amazing
Personalized Custom 3D Metal Backlit Signs – Stainless Steel Business Signs for Offices, Storefronts, Receptions, and Salons
I love it. I haven’t place them yet. But I checked them.
Great size & nice color. 100% recommended!!! Thanks guys!!
Really love our sign!
100% recommend! Great purchase, thank you.
I love my signs! They came out perfect!
This sign is better than anything we could have asked for. Looks amazing!
Perfect!
We love the sign, thank you!


